 MAPS
Finding C Across Octaves
Summary
Students locate and play C in different octaves by recognizing the repeating pattern of two black keys. Rainbow-shaped paper cutouts help show the octave distance between neighboring Cs, while colored decorative gems serve as visual markers. The gems are placed toward the back of the C keys, leaving space for students to play directly on the keys. As students move and play, the teacher guides them to keep their fingers naturally curved and maintain natural alignment of the hand, wrist, and forearm while avoiding unnecessary tension.
Procedures
- 1
Find C: Ask students to identify a group of two black keys and find C immediately to its left. Repeat in different areas of the keyboard.
- 2
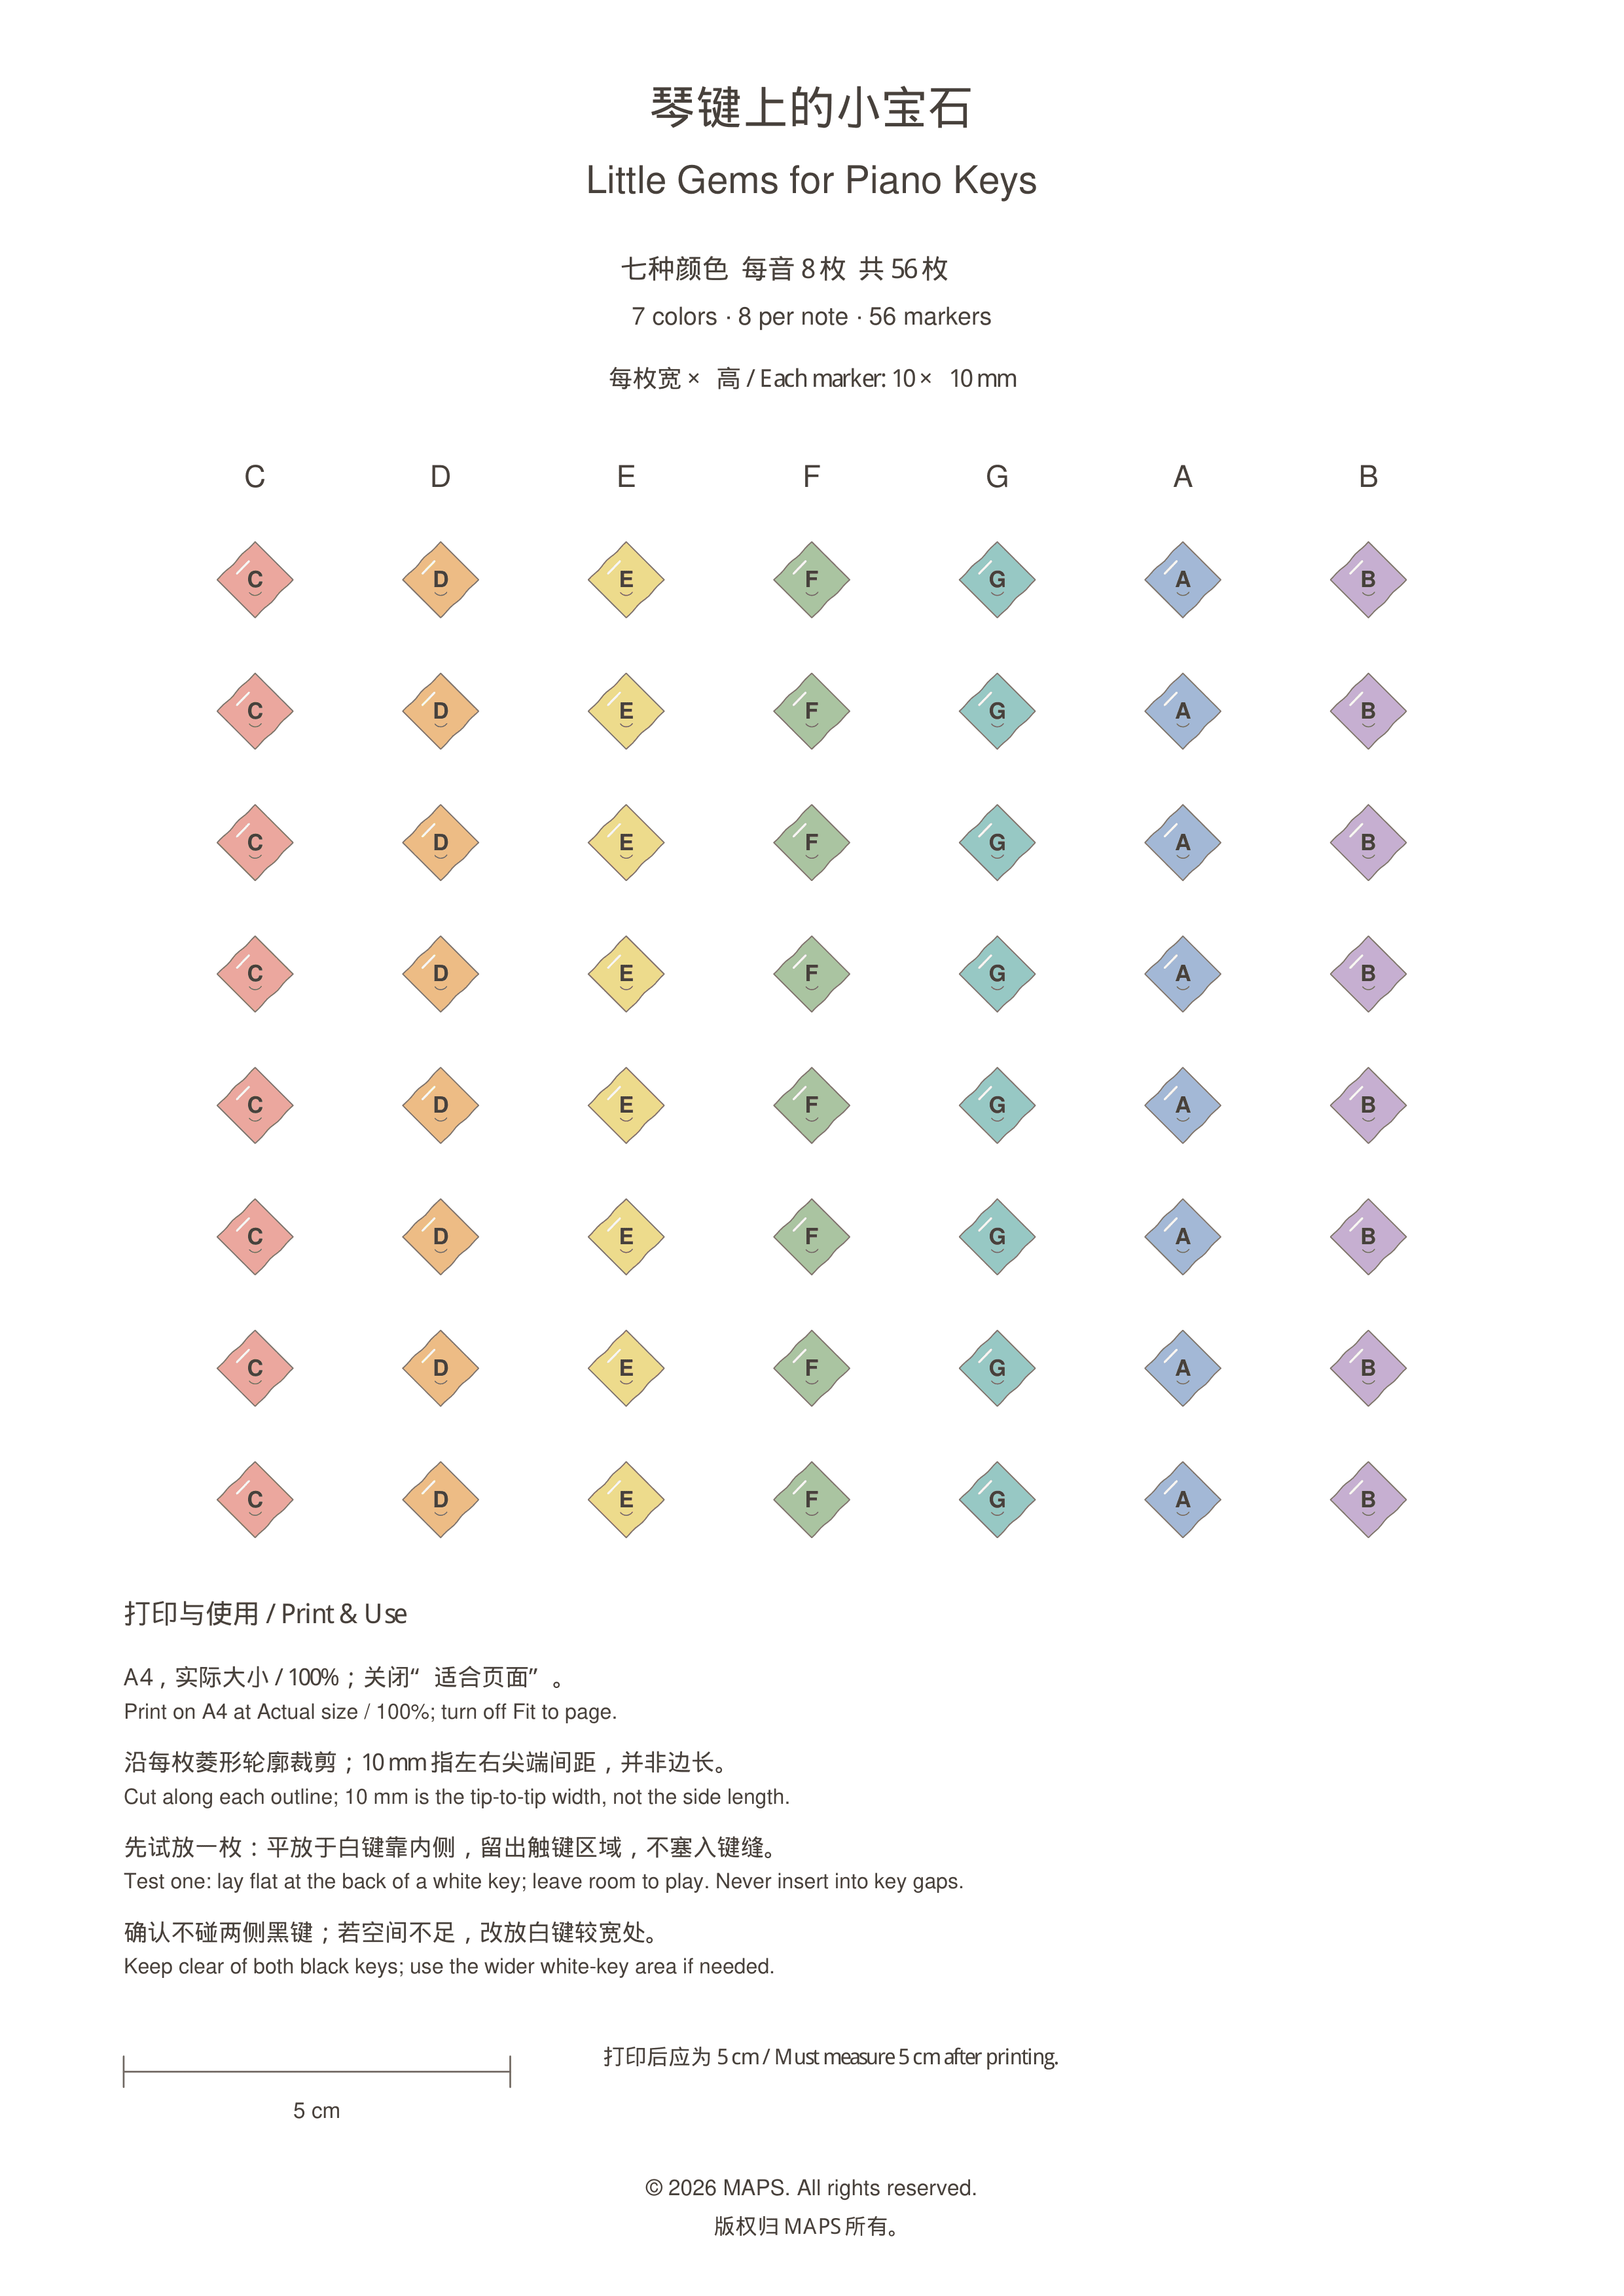
Mark the keys: Have students place colored decorative gems toward the back of the C keys, leaving the front area clear for playing.
- 3
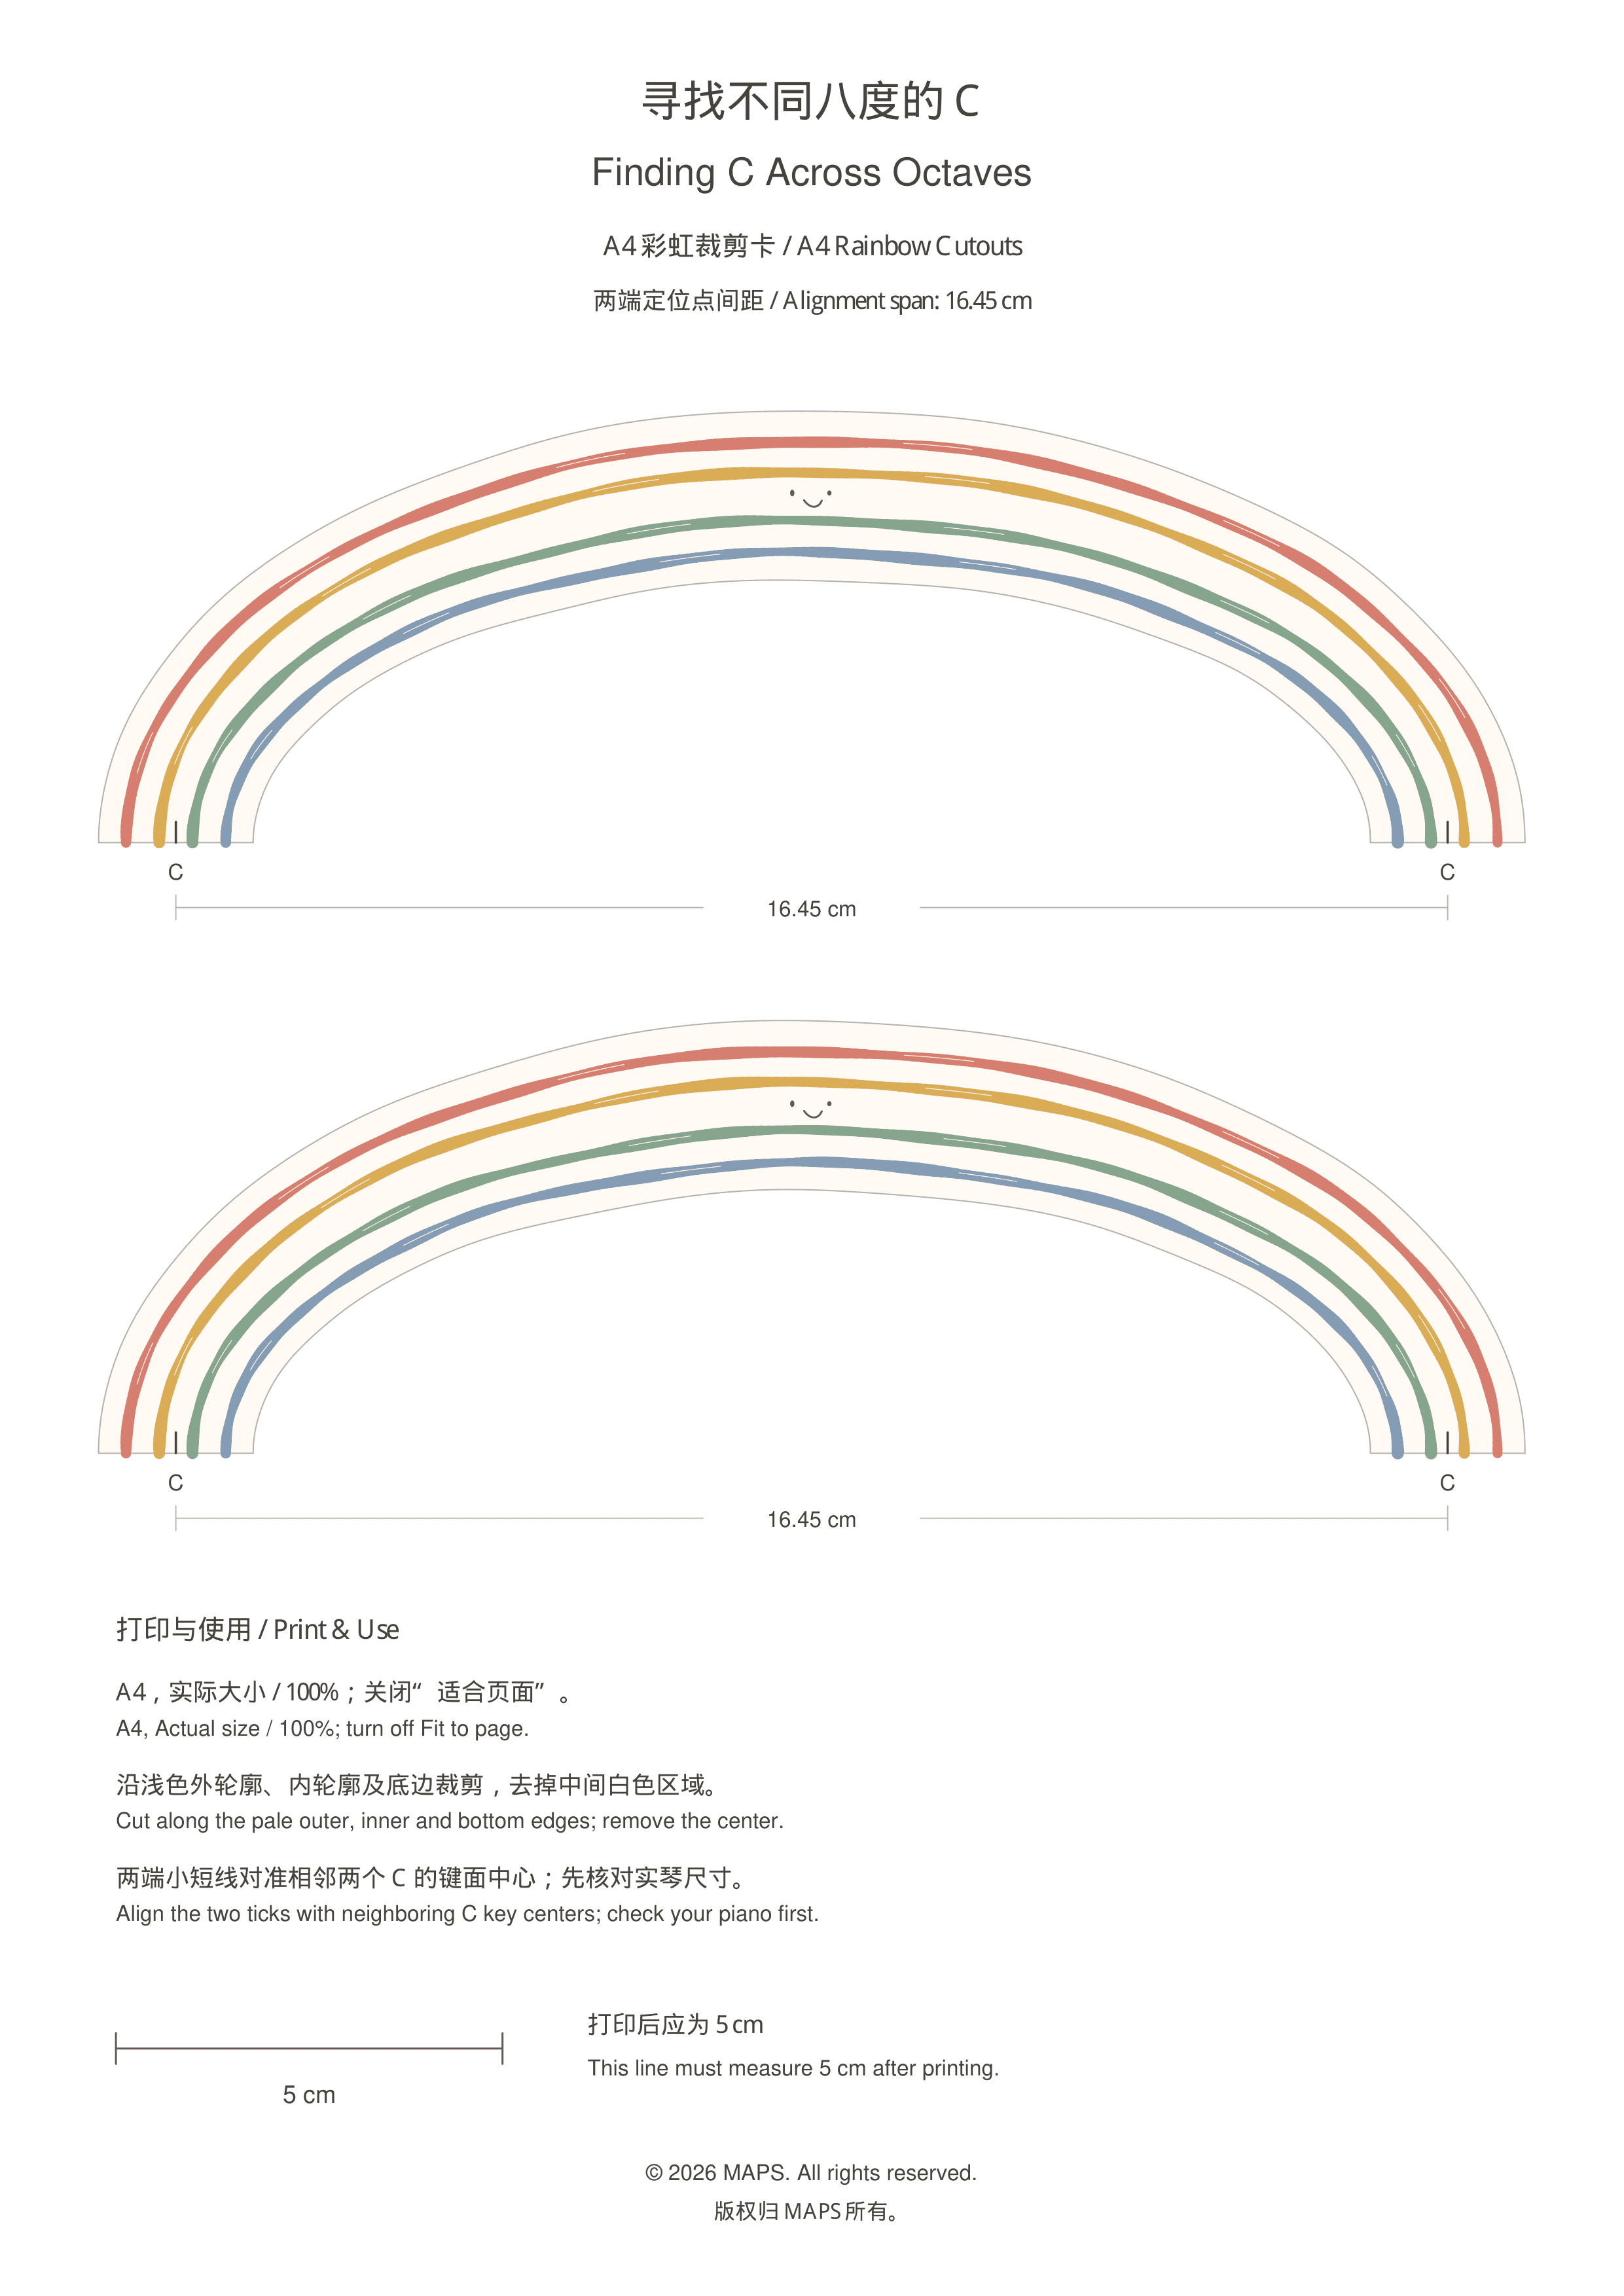
Show the octave: Position a rainbow-shaped paper cutout so its two endpoint marks align with neighboring Cs. Explain that these notes share the same name and are one octave apart.
- 4
Model the movement: Demonstrate playing one C, releasing the key, and moving the hand and forearm together to the next C. Keep the fingers naturally curved and the hand, wrist, and forearm naturally aligned.
- 5
Move, play, and listen: Ask students to play the marked Cs one at a time, first moving upward and then downward along the keyboard. Encourage them to listen to the changing pitch while maintaining comfortable alignment and avoiding unnecessary tension.
- 6
Remove the visual supports: Gradually remove the rainbow cutouts and gems. Ask students to find and play C in different octaves independently, using the black-key pattern as a guide.
Variations
1. Try another note: Choose another white-key note, such as D or F, and find it in different octaves.
2. Change direction: Give cues such as “one octave higher” or “one octave lower,” and ask students to locate and play the corresponding note.
Reference Video Link
Activity Preparation
1. A piano or keyboard with standard-size keys
2. Printed rainbow cutouts, scaled to actual size
3. Colored gems or printed note markers for C, D, E, F, G, A, and B
4. Scissors; optional cardstock and small envelopes for take-home sets
5. Students should already be able to recognize the pattern of two black keys and identify C immediately to its left.
6. Before class, print one rainbow and one marker at 100% to test the fit on the piano being used.
Activity Sources
- Source Type:
- Traditional activity
- Source:
- 1. Instagram: @iryna_tarasevych_art_from_h; 2. Instagram: @listen_n_piano; 3. Faber, N., & Faber, R. (2006). My First Piano Adventure: Lesson Book A (pp. 26–27). Faber Piano Adventures.
- Adaptation Notes:
- The original visual idea was adapted into an activity for locating and playing C across octaves. MAPS developed the learning sequence, bilingual instructions, actual-size rainbow cutouts, and printable note markers to support keyboard topography, octave awareness, and coordinated movement at the keyboard.
MAPS teaching activities may come from a variety of sources, including original contributions by the MAPS team, online resources, published materials, activities learned from teachers, activities shared by colleagues, traditional teaching practices, and other sources. When a source can be reasonably identified, we make every effort to acknowledge it on the relevant activity page or in the accompanying reference information.
Some content may be organized, translated, structured, or adapted by the MAPS team for specific teaching contexts. Such editorial or instructional adaptation does not mean that MAPS claims ownership of the underlying third-party material. Rights to third-party content remain with the original authors, publishers, or other lawful rights holders.
If you are an author, copyright holder, or authorized representative and have questions or concerns regarding the source, attribution, or use of any content, please contact us:
Email: musicactivityps@gmail.com
Finding C Across Octaves
Summary
Students locate and play C in different octaves by recognizing the repeating pattern of two black keys. Rainbow-shaped paper cutouts help show the octave distance between neighboring Cs, while colored decorative gems serve as visual markers. The gems are placed toward the back of the C keys, leaving space for students to play directly on the keys. As students move and play, the teacher guides them to keep their fingers naturally curved and maintain natural alignment of the hand, wrist, and forearm while avoiding unnecessary tension.
Procedures
- 1
Find C: Ask students to identify a group of two black keys and find C immediately to its left. Repeat in different areas of the keyboard.
- 2
Mark the keys: Have students place colored decorative gems toward the back of the C keys, leaving the front area clear for playing.
- 3
Show the octave: Position a rainbow-shaped paper cutout so its two endpoint marks align with neighboring Cs. Explain that these notes share the same name and are one octave apart.
- 4
Model the movement: Demonstrate playing one C, releasing the key, and moving the hand and forearm together to the next C. Keep the fingers naturally curved and the hand, wrist, and forearm naturally aligned.
- 5
Move, play, and listen: Ask students to play the marked Cs one at a time, first moving upward and then downward along the keyboard. Encourage them to listen to the changing pitch while maintaining comfortable alignment and avoiding unnecessary tension.
- 6
Remove the visual supports: Gradually remove the rainbow cutouts and gems. Ask students to find and play C in different octaves independently, using the black-key pattern as a guide.
Variations
1. Try another note: Choose another white-key note, such as D or F, and find it in different octaves.
2. Change direction: Give cues such as “one octave higher” or “one octave lower,” and ask students to locate and play the corresponding note.
Reference Video Link
Activity Preparation
1. A piano or keyboard with standard-size keys
2. Printed rainbow cutouts, scaled to actual size
3. Colored gems or printed note markers for C, D, E, F, G, A, and B
4. Scissors; optional cardstock and small envelopes for take-home sets
5. Students should already be able to recognize the pattern of two black keys and identify C immediately to its left.
6. Before class, print one rainbow and one marker at 100% to test the fit on the piano being used.
Activity Sources
- Source Type:
- Traditional activity
- Source:
- 1. Instagram: @iryna_tarasevych_art_from_h; 2. Instagram: @listen_n_piano; 3. Faber, N., & Faber, R. (2006). My First Piano Adventure: Lesson Book A (pp. 26–27). Faber Piano Adventures.
- Adaptation Notes:
- The original visual idea was adapted into an activity for locating and playing C across octaves. MAPS developed the learning sequence, bilingual instructions, actual-size rainbow cutouts, and printable note markers to support keyboard topography, octave awareness, and coordinated movement at the keyboard.
MAPS teaching activities may come from a variety of sources, including original contributions by the MAPS team, online resources, published materials, activities learned from teachers, activities shared by colleagues, traditional teaching practices, and other sources. When a source can be reasonably identified, we make every effort to acknowledge it on the relevant activity page or in the accompanying reference information.
Some content may be organized, translated, structured, or adapted by the MAPS team for specific teaching contexts. Such editorial or instructional adaptation does not mean that MAPS claims ownership of the underlying third-party material. Rights to third-party content remain with the original authors, publishers, or other lawful rights holders.
If you are an author, copyright holder, or authorized representative and have questions or concerns regarding the source, attribution, or use of any content, please contact us:
Email: musicactivityps@gmail.com