 MAPS
Sing the Scale Fingering
Summary
Students identify the shared 1–2–3 | 1–2–3–4–5 fingering pattern used by the right hand ascending and the left hand descending in C, G, D, A, and E major scales. By speaking or singing the fingering while playing, students organize the sequence into a memorable pattern and apply it across different keys before gradually removing the verbal and visual supports.
Procedures
- 1
Identify the shared fingering pattern
Introduce or review the C, G, D, A, and E major scales. Compare the RH ascending and LH descending fingerings and guide students to identify their shared pattern: 1–2–3 | 1–2–3–4–5 The letters of these five keys can be rearranged to form CAGED, which can serve as a mnemonic for remembering the key group. The scales are practiced in the order C–G–D–A–E.
- 2
Speak or sing the pattern
Before playing, have students speak or sing “1–2–3 | 1–2–3–4–5” in a steady rhythm. Encourage them to hear and remember the sequence as one recurring fingering pattern rather than as eight separate numbers.
- 3
Air-play the pattern: imagine the keyboard
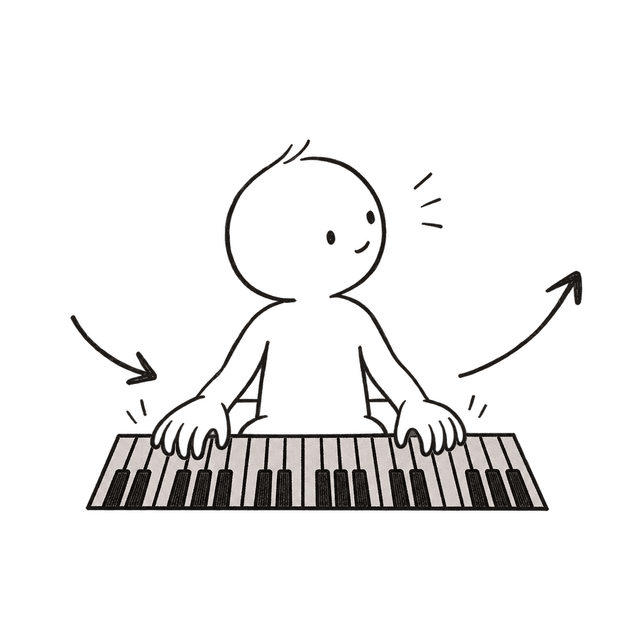
Away from the keys, students imagine a keyboard beneath their fingers and simulate the fingering while continuing to speak or sing 1–2–3 | 1–2–3–4–5. First air-play the RH ascending pattern, then the LH descending pattern. Students coordinate the spoken or sung numbers with the corresponding finger movements, including the change of position after finger 3.
- 4
Transfer the pattern to the keyboard
Move to the keyboard and play one hand at a time. Play the RH ascending while singing 1–2–3 | 1–2–3–4–5, then play the LH descending while singing the same pattern. Compare the imagined movement with the actual movement on the keys.
- 5
Apply the pattern hands together
Play the scale hands together. Ascending, watch the RH and sing its fingering; descending, watch the LH and sing its fingering. Introduce or reinforce the cue: “Ascending: Watch the Right; Descending: Watch the Left.” Help students recognize that they are following the same familiar fingering pattern in two different directions.
- 6
Practice across keys
Apply the same process to C, G, D, A, and E major. Emphasize that the familiar 1–2–3 | 1–2–3–4–5 pattern is transferred across the key group rather than memorized separately for each scale.
- 7
Gradually remove the supports
As the fingering becomes secure, gradually reduce the supports: sing the numbers aloud, speak them softly, hear them internally, and finally play without verbal cues. Reduce visual attention to the hands as well, while maintaining accurate fingering and coordinated movement.
Variations
1. Reverse the Pattern
Reverse the directions: play the RH descending and the LH ascending. Students identify and sing their shared fingering pattern, 5–4–3–2–1 | 3–2–1, then air-play and play it on the keyboard using the same process as in the main activity.
Activity Preparation
Piano or keyboard
Activity Sources
- Source Type:
- MAPS Original
MAPS teaching activities may come from a variety of sources, including original contributions by the MAPS team, online resources, published materials, activities learned from teachers, activities shared by colleagues, traditional teaching practices, and other sources. When a source can be reasonably identified, we make every effort to acknowledge it on the relevant activity page or in the accompanying reference information.
Some content may be organized, translated, structured, or adapted by the MAPS team for specific teaching contexts. Such editorial or instructional adaptation does not mean that MAPS claims ownership of the underlying third-party material. Rights to third-party content remain with the original authors, publishers, or other lawful rights holders.
If you are an author, copyright holder, or authorized representative and have questions or concerns regarding the source, attribution, or use of any content, please contact us:
Email: musicactivityps@gmail.com
Sing the Scale Fingering
Summary
Students identify the shared 1–2–3 | 1–2–3–4–5 fingering pattern used by the right hand ascending and the left hand descending in C, G, D, A, and E major scales. By speaking or singing the fingering while playing, students organize the sequence into a memorable pattern and apply it across different keys before gradually removing the verbal and visual supports.
Procedures
- 1
Identify the shared fingering pattern
Introduce or review the C, G, D, A, and E major scales. Compare the RH ascending and LH descending fingerings and guide students to identify their shared pattern: 1–2–3 | 1–2–3–4–5 The letters of these five keys can be rearranged to form CAGED, which can serve as a mnemonic for remembering the key group. The scales are practiced in the order C–G–D–A–E.
- 2
Speak or sing the pattern
Before playing, have students speak or sing “1–2–3 | 1–2–3–4–5” in a steady rhythm. Encourage them to hear and remember the sequence as one recurring fingering pattern rather than as eight separate numbers.
- 3
Air-play the pattern: imagine the keyboard
Away from the keys, students imagine a keyboard beneath their fingers and simulate the fingering while continuing to speak or sing 1–2–3 | 1–2–3–4–5. First air-play the RH ascending pattern, then the LH descending pattern. Students coordinate the spoken or sung numbers with the corresponding finger movements, including the change of position after finger 3.
- 4
Transfer the pattern to the keyboard
Move to the keyboard and play one hand at a time. Play the RH ascending while singing 1–2–3 | 1–2–3–4–5, then play the LH descending while singing the same pattern. Compare the imagined movement with the actual movement on the keys.
- 5
Apply the pattern hands together
Play the scale hands together. Ascending, watch the RH and sing its fingering; descending, watch the LH and sing its fingering. Introduce or reinforce the cue: “Ascending: Watch the Right; Descending: Watch the Left.” Help students recognize that they are following the same familiar fingering pattern in two different directions.
- 6
Practice across keys
Apply the same process to C, G, D, A, and E major. Emphasize that the familiar 1–2–3 | 1–2–3–4–5 pattern is transferred across the key group rather than memorized separately for each scale.
- 7
Gradually remove the supports
As the fingering becomes secure, gradually reduce the supports: sing the numbers aloud, speak them softly, hear them internally, and finally play without verbal cues. Reduce visual attention to the hands as well, while maintaining accurate fingering and coordinated movement.
Variations
1. Reverse the Pattern
Reverse the directions: play the RH descending and the LH ascending. Students identify and sing their shared fingering pattern, 5–4–3–2–1 | 3–2–1, then air-play and play it on the keyboard using the same process as in the main activity.
Activity Preparation
Piano or keyboard
Activity Sources
- Source Type:
- MAPS Original
MAPS teaching activities may come from a variety of sources, including original contributions by the MAPS team, online resources, published materials, activities learned from teachers, activities shared by colleagues, traditional teaching practices, and other sources. When a source can be reasonably identified, we make every effort to acknowledge it on the relevant activity page or in the accompanying reference information.
Some content may be organized, translated, structured, or adapted by the MAPS team for specific teaching contexts. Such editorial or instructional adaptation does not mean that MAPS claims ownership of the underlying third-party material. Rights to third-party content remain with the original authors, publishers, or other lawful rights holders.
If you are an author, copyright holder, or authorized representative and have questions or concerns regarding the source, attribution, or use of any content, please contact us:
Email: musicactivityps@gmail.com