 MAPS
Stop and Go
Summary
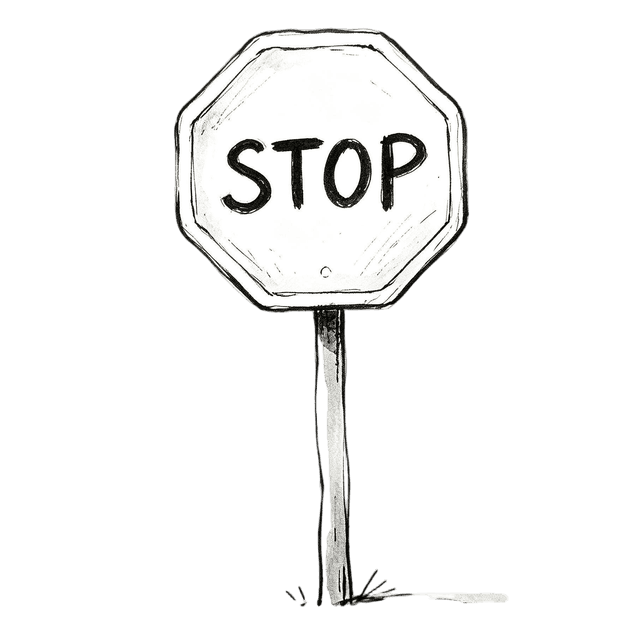
Through a movement activity in which students move while the music is playing and freeze when it stops, students practice maintaining a steady beat while sustaining focused listening. As the activity progresses, the teacher introduces changes in tempo and dynamics, and students adjust their movements in response to what they hear. The activity works well as a warm-up and can also be used to experience and practice steady beat, tempo, and dynamics while developing self-control and musical responsiveness. It is especially suitable for the warm-up/introduction and the Experience / Exploration stage of a lesson.
Procedures
 1
The teacher plays or performs a piece of music with a clear beat and moderate tempo. Students listen and silently count the beats, focusing on the steady beat. At this point, the teacher does not demonstrate any movements; students simply listen quietly for about eight beats.
- 2
While the music continues, students begin walking in place to the steady beat. The teacher gives no verbal directions or visual cues; students rely entirely on what they hear. As long as the music continues, they keep moving.
- 3
After approximately 16 beats, the teacher suddenly stops the recording or stops playing. As soon as the music becomes completely silent, students respond only to the auditory change by immediately freezing in place. They remain still and do not make any sound or body movement.
- 4
After about 3–5 seconds of silence, the teacher starts the music or begins playing again. As soon as students hear the music return, they immediately resume walking to the beat. No verbal cue or gesture is used; the transition between moving and stopping is based entirely on listening.
- 5
Repeat the “music plays—music stops—music resumes” pattern 4–5 times. Vary the length of each playing and stopping period—for example, stop after 12 beats, 20 beats, or 8 beats. Because the timing is unpredictable, students must remain continuously attentive and cannot rely on a fixed pattern to anticipate when to start or stop.
- 6
Next, keep the rule that students freeze whenever the music stops, while adding changes in tempo:
a.When the music becomes faster, students increase the speed of their steps or shift to a light jog. b. When the music becomes slower, students slow down their steps.
- 7
Then add changes in dynamics:
a. When the music is loud (forte), students step with more weight and energy. b. When the music is soft (piano), students rise onto their toes and step lightly.
- 8
Finally, combine the two musical elements in the performance or recording, for example:
a. fast + loud: students step quickly and strongly; b. fast + soft: students move quickly with light tiptoe steps; c. slow + loud: students step slowly and strongly; d. slow + soft: students move slowly with light tiptoe steps. Whenever the music stops, students respond only to the auditory signal and freeze immediately. At this stage, the teacher can focus on whether students are able to process two musical features at the same time. Perfect coordination is not necessary; students may first respond successfully to one element and gradually learn to attend to both.
Variations
1.Classroom Management: When the music stops, the teacher can incorporate the playful instruction “freeze,” encouraging students to hold an interesting frozen pose to make the activity more engaging. For students who may become overly excited, establish a “freeze quietly” rule in advance to prevent shouting, unsafe movements, or falls.
2.Difficulty Adjustment:
To simplify: Allow longer periods of music, use shorter pauses, and give students more time to respond; alternatively, use only the two states of “move” and “stop.”
To increase the challenge: Switch more frequently between music and silence so students must respond more quickly. The teacher may also ask students to close their eyes and maintain their balance when they freeze.
3.Final Minute — Student-Designed Movements: During the final minute, students stop using the walking-in-place movement and instead create their own movements in response to musical characteristics—for example, clapping for fast music, swaying for slow music, stomping for loud music, or moving gently for soft music.
Activity Preparation
1. Students stand with at least an arm’s length of space between them to ensure sufficient room for movement.
2. Prepare a music playback device or piano, and select a piece with a clear beat and moderate tempo for the first round.
Activity Sources
- Source Type:
- Shared by colleague
MAPS teaching activities may come from a variety of sources, including original contributions by the MAPS team, online resources, published materials, activities learned from teachers, activities shared by colleagues, traditional teaching practices, and other sources. When a source can be reasonably identified, we make every effort to acknowledge it on the relevant activity page or in the accompanying reference information.
Some content may be organized, translated, structured, or adapted by the MAPS team for specific teaching contexts. Such editorial or instructional adaptation does not mean that MAPS claims ownership of the underlying third-party material. Rights to third-party content remain with the original authors, publishers, or other lawful rights holders.
If you are an author, copyright holder, or authorized representative and have questions or concerns regarding the source, attribution, or use of any content, please contact us:
Email: musicactivityps@gmail.com
Stop and Go
Summary
Through a movement activity in which students move while the music is playing and freeze when it stops, students practice maintaining a steady beat while sustaining focused listening. As the activity progresses, the teacher introduces changes in tempo and dynamics, and students adjust their movements in response to what they hear. The activity works well as a warm-up and can also be used to experience and practice steady beat, tempo, and dynamics while developing self-control and musical responsiveness. It is especially suitable for the warm-up/introduction and the Experience / Exploration stage of a lesson.
Procedures
- 1
The teacher plays or performs a piece of music with a clear beat and moderate tempo. Students listen and silently count the beats, focusing on the steady beat. At this point, the teacher does not demonstrate any movements; students simply listen quietly for about eight beats.
- 2
While the music continues, students begin walking in place to the steady beat. The teacher gives no verbal directions or visual cues; students rely entirely on what they hear. As long as the music continues, they keep moving.
- 3
After approximately 16 beats, the teacher suddenly stops the recording or stops playing. As soon as the music becomes completely silent, students respond only to the auditory change by immediately freezing in place. They remain still and do not make any sound or body movement.
- 4
After about 3–5 seconds of silence, the teacher starts the music or begins playing again. As soon as students hear the music return, they immediately resume walking to the beat. No verbal cue or gesture is used; the transition between moving and stopping is based entirely on listening.
- 5
Repeat the “music plays—music stops—music resumes” pattern 4–5 times. Vary the length of each playing and stopping period—for example, stop after 12 beats, 20 beats, or 8 beats. Because the timing is unpredictable, students must remain continuously attentive and cannot rely on a fixed pattern to anticipate when to start or stop.
- 6
Next, keep the rule that students freeze whenever the music stops, while adding changes in tempo:
a.When the music becomes faster, students increase the speed of their steps or shift to a light jog. b. When the music becomes slower, students slow down their steps.
- 7
Then add changes in dynamics:
a. When the music is loud (forte), students step with more weight and energy. b. When the music is soft (piano), students rise onto their toes and step lightly.
- 8
Finally, combine the two musical elements in the performance or recording, for example:
a. fast + loud: students step quickly and strongly; b. fast + soft: students move quickly with light tiptoe steps; c. slow + loud: students step slowly and strongly; d. slow + soft: students move slowly with light tiptoe steps. Whenever the music stops, students respond only to the auditory signal and freeze immediately. At this stage, the teacher can focus on whether students are able to process two musical features at the same time. Perfect coordination is not necessary; students may first respond successfully to one element and gradually learn to attend to both.
Variations
1.Classroom Management: When the music stops, the teacher can incorporate the playful instruction “freeze,” encouraging students to hold an interesting frozen pose to make the activity more engaging. For students who may become overly excited, establish a “freeze quietly” rule in advance to prevent shouting, unsafe movements, or falls.
2.Difficulty Adjustment:
To simplify: Allow longer periods of music, use shorter pauses, and give students more time to respond; alternatively, use only the two states of “move” and “stop.”
To increase the challenge: Switch more frequently between music and silence so students must respond more quickly. The teacher may also ask students to close their eyes and maintain their balance when they freeze.
3.Final Minute — Student-Designed Movements: During the final minute, students stop using the walking-in-place movement and instead create their own movements in response to musical characteristics—for example, clapping for fast music, swaying for slow music, stomping for loud music, or moving gently for soft music.
Activity Preparation
1. Students stand with at least an arm’s length of space between them to ensure sufficient room for movement.
2. Prepare a music playback device or piano, and select a piece with a clear beat and moderate tempo for the first round.
Activity Sources
- Source Type:
- Shared by colleague
MAPS teaching activities may come from a variety of sources, including original contributions by the MAPS team, online resources, published materials, activities learned from teachers, activities shared by colleagues, traditional teaching practices, and other sources. When a source can be reasonably identified, we make every effort to acknowledge it on the relevant activity page or in the accompanying reference information.
Some content may be organized, translated, structured, or adapted by the MAPS team for specific teaching contexts. Such editorial or instructional adaptation does not mean that MAPS claims ownership of the underlying third-party material. Rights to third-party content remain with the original authors, publishers, or other lawful rights holders.
If you are an author, copyright holder, or authorized representative and have questions or concerns regarding the source, attribution, or use of any content, please contact us:
Email: musicactivityps@gmail.com